Scheduling
Overview
Scheduling allows you to automate your pipelines to run at specific times without manual intervention. Instead of running your pipelines manually each time, you can set up a schedule that will automatically execute them on a recurring basis.
This feature is essential for keeping your data fresh, automating regular workflows, and ensuring your pipelines run consistently — whether that's daily, weekly, or on a custom schedule.
This guide is intended for users who want to automate pipeline execution on a recurring basis, including data refreshes, reporting workflows, and scheduled transformations.
What is Scheduling?
In practice, scheduling means your pipelines automatically execute at predetermined times. Once configured, the system will run your pipeline according to the schedule you've set, without requiring you to trigger it manually.
Common Use Cases
- Daily Data Refresh: Keep your datasets up to date by running pipelines every day at a specific time.
- Weekly Reporting: Automate weekly data processing and report generation.
- Recurring Workflows: Set up automated recurring workflows that run on a regular schedule.
- Hourly Updates: Maintain near real-time data by scheduling pipelines to run every hour.
Scheduling helps ensure your data stays current and your workflows remain consistent, reducing the need for manual intervention.
Where to Manage Schedules
You can manage schedules in two main locations:
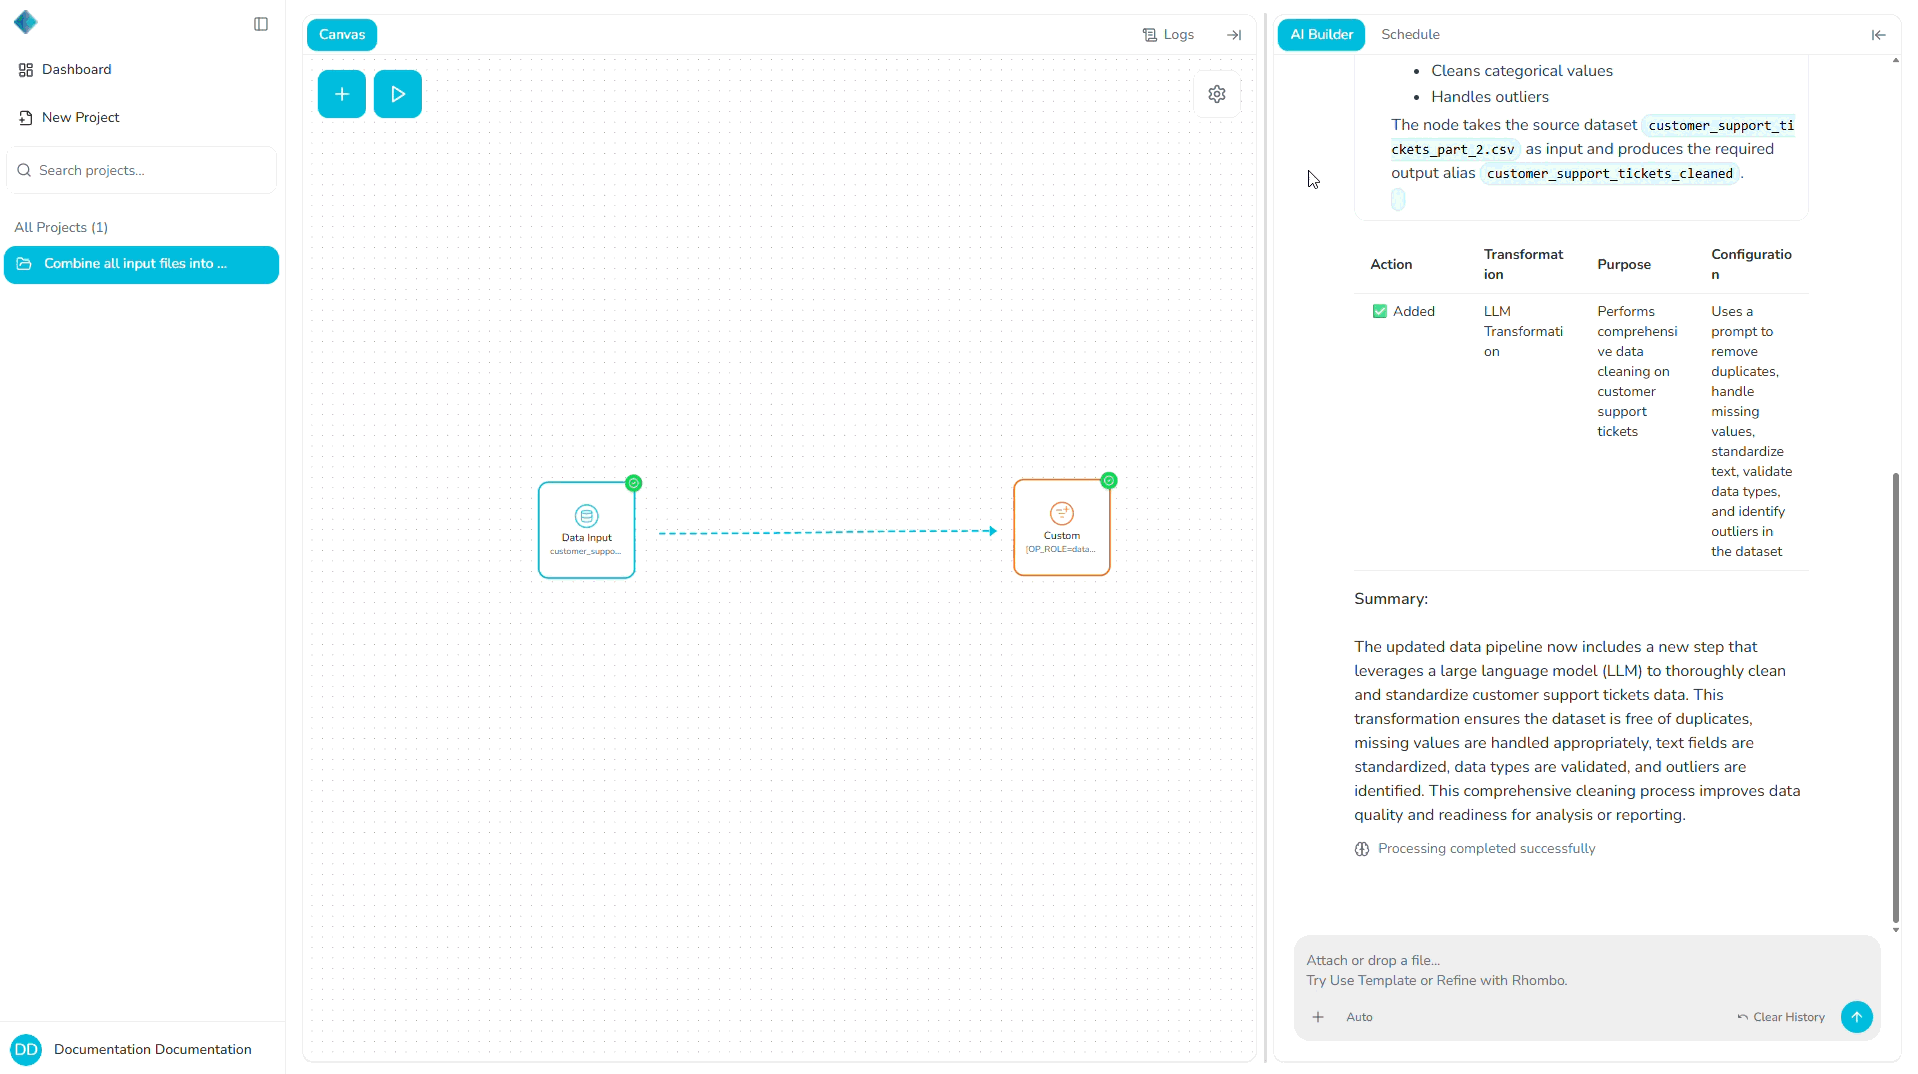
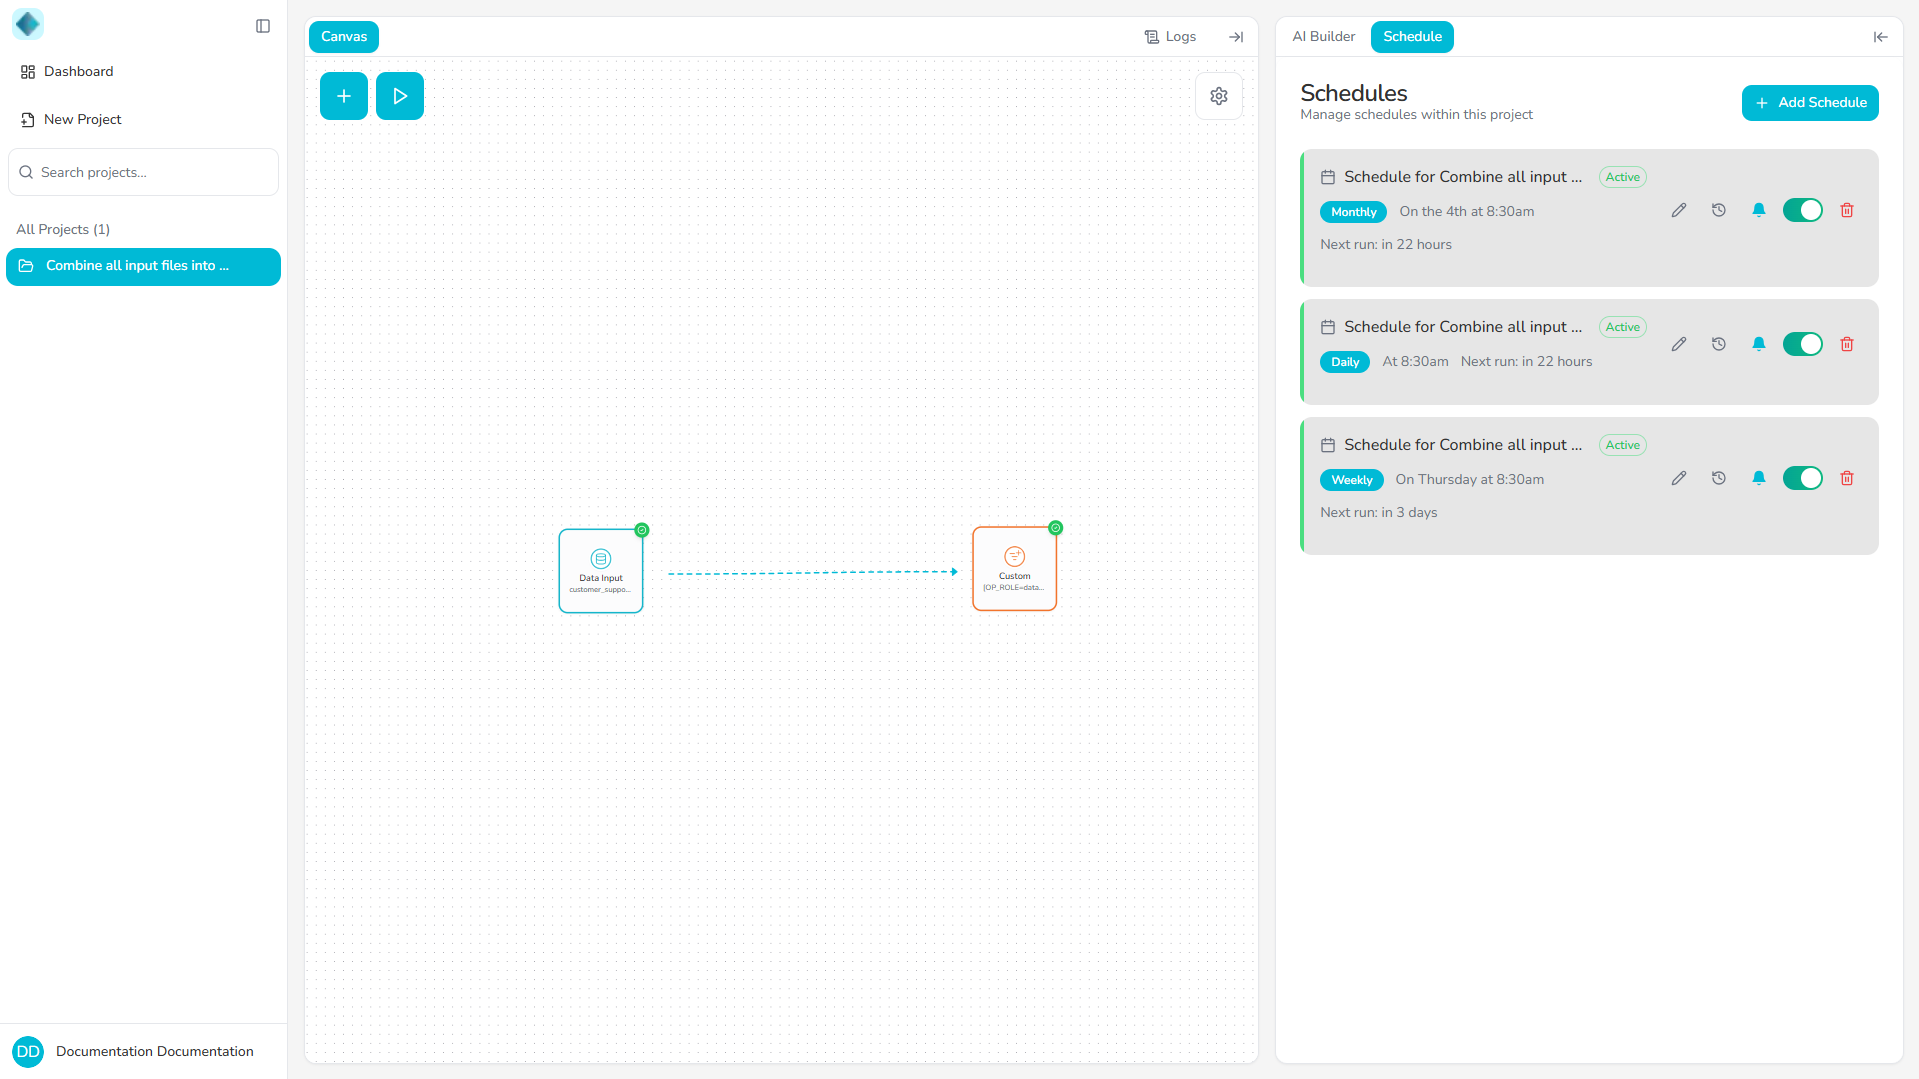
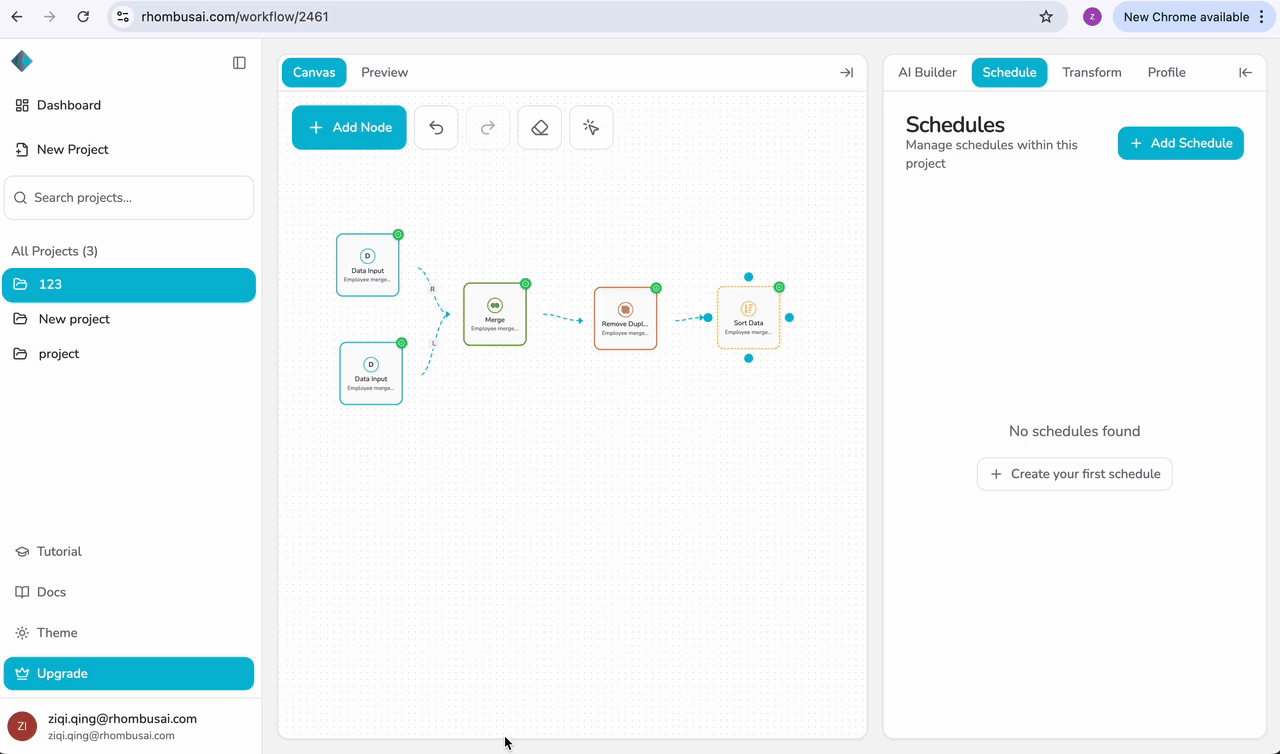
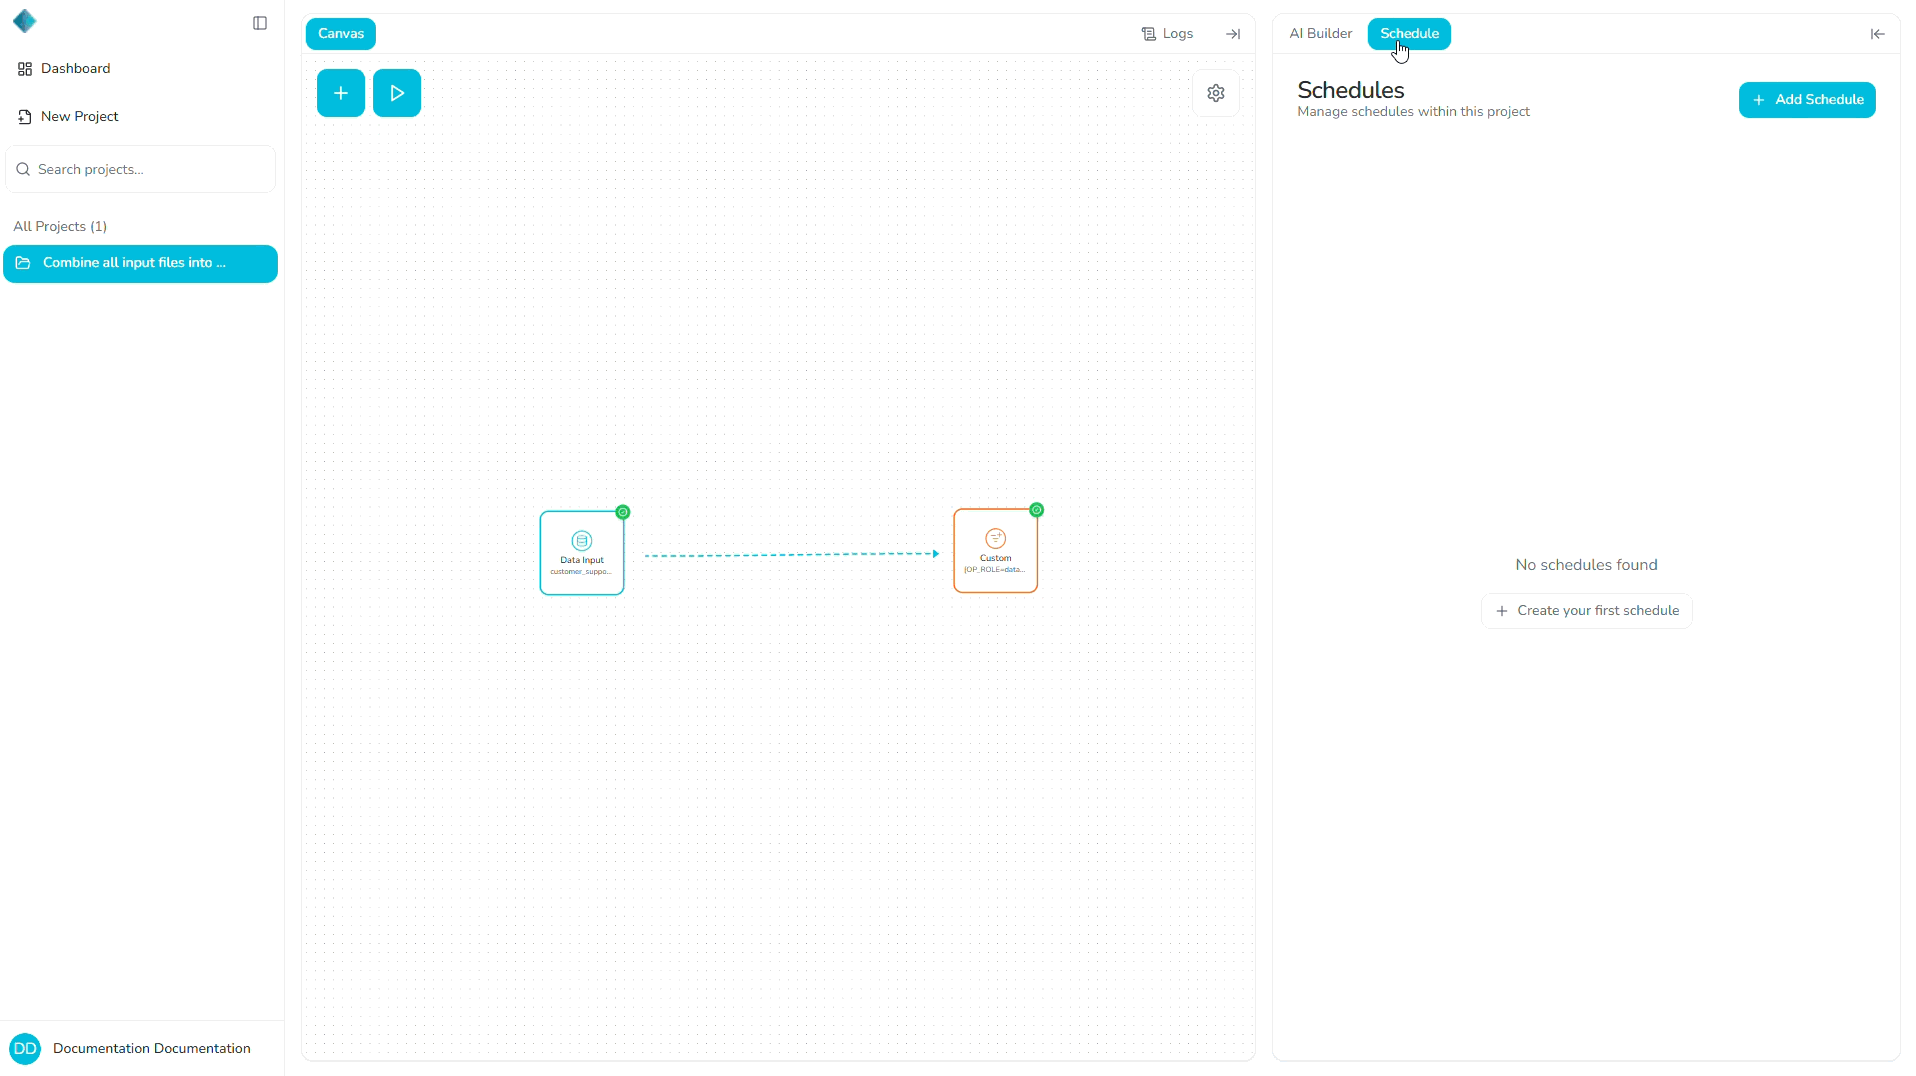
Project-Level Schedule Tab
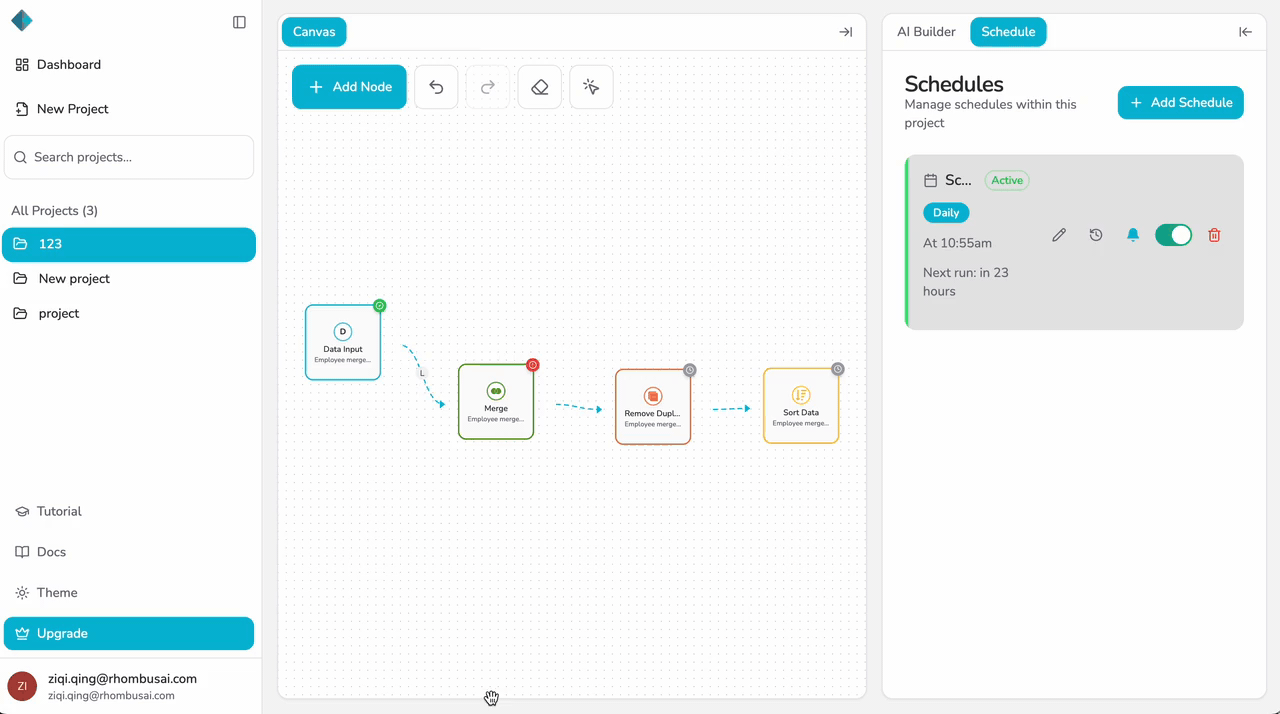
Each project has its own Schedule tab where you can create, view, and manage all schedules for that project's pipelines.
To access schedules:
- Open your project.
- Click the Schedule tab in the project interface.
- View all existing schedules and create new ones.
Dashboard Overview
The Dashboard provides a centralized, high-level view of all schedules across your projects. You can see scheduled runs, upcoming executions, and overall schedule status at a glance.
The Dashboard gives you visibility into all your scheduled pipelines, making it easy to monitor and manage schedules across multiple projects.
Creating a Schedule
Follow these steps to create a new schedule for your pipeline:
Step 1 — Access the Schedule Tab
- Open the project containing the pipeline you want to schedule.
- Navigate to the Schedule tab.
Step 2 — Create a New Schedule
- Click "+ Add Schedule".
- Select the pipeline you want to schedule from the dropdown menu.
Step 3 — Configure Schedule Type
Choose one of the following schedule types:
Hourly
Runs the pipeline every hour at a specified minute (e.g., every hour at :15 past the hour).
Daily
Runs the pipeline once per day at a specific time (e.g., every day at 2:00 AM).
Weekly
Runs the pipeline on specified days of the week at a specific time (e.g., every Monday, Wednesday, and Friday at 9:00 AM).
Monthly
Runs the pipeline on a specific day of the month at a specific time (e.g., the 1st of every month at midnight).
Monthly Schedule Limitation
Monthly schedules can only be set for days 1 through 28. Days 29, 30, and 31 are not supported to ensure consistent scheduling across all months.
Custom (Advanced)
Allows you to define a custom schedule using cron-style syntax. This option is recommended for users who need more granular control over scheduling.
Common Cron Examples:
| Expression | Description |
|---|---|
0 * * * * | Every hour |
30 8 * * * | Every day at 8:30 AM |
0 0 * * 1 | Every Monday at midnight |
Custom schedules are ideal for complex scheduling requirements, but require familiarity with cron syntax. For most use cases, the predefined schedule types (Hourly, Daily, Weekly, Monthly) are easier to configure.
Step 4 — Set Schedule Time
Configure the specific time when the pipeline should run:
- Select the time using the time picker.
- The time you set is in your local timezone — the system will handle timezone conversion automatically.
You don't need to worry about converting to UTC or other timezones. Simply set the time in your local timezone, and the system will manage the conversion for you.
Step 5 — Configure Notify on Failure (Optional)
Enable "Notify on Failure" if you want to receive notifications when a scheduled run fails:
- Toggle the "Notify on Failure" option.
- If enabled, you'll receive notifications whenever a scheduled pipeline execution encounters an error or fails to complete.
Enabling notifications helps you stay informed about pipeline failures and allows you to address issues promptly.
Step 6 — Save the Schedule
- Review your schedule configuration.
- Click "Save" or "Create Schedule" to activate the schedule.
Once saved, your pipeline will run automatically according to the schedule you've configured.
Managing Schedules
After creating a schedule, you can manage it in several ways:
Enable / Disable Schedules
You can pause a schedule without deleting it:
- Open the Schedule tab.
- Find the schedule you want to pause.
- Toggle the "Enabled" switch to disable the schedule.
Disabled schedules will not trigger pipeline executions, but the schedule configuration remains saved. You can re-enable it at any time by toggling the switch back on.
Disabling a schedule is useful when you need to temporarily pause automated runs without losing your schedule configuration.
Edit an Existing Schedule
You can modify an existing schedule at any time:
- Open the Schedule tab.
- Find the schedule you want to edit.
- Click "Edit" or the schedule name.
- Modify the schedule type, time, or other settings.
- Click "Save" to apply your changes.
Editing a schedule will apply to all future scheduled runs. Past runs are not affected by schedule changes.
Delete a Schedule
To permanently remove a schedule:
- Open the Schedule tab.
- Find the schedule you want to delete.
- Click "Delete" or the delete icon.
- Confirm the deletion when prompted.
Deletion is Permanent
Deleting a schedule cannot be undone. Once deleted, the schedule configuration is permanently removed, and the pipeline will no longer run automatically. If you need the schedule again, you'll need to recreate it from scratch.

How Schedules Interact with Pipelines and Transformations
Conceptual Hierarchy
Scheduling in Rhombus AI follows a simple hierarchy:
Schedule → Pipeline → Transformations
- Schedule: Determines when a pipeline runs
- Pipeline: Defines what runs (the full workflow)
- Transformations: Individual steps inside the pipeline
Key Principles
- A Schedule always runs the entire Pipeline: You cannot schedule individual transformations. When a schedule triggers, it executes the complete pipeline from start to finish.
- A Schedule cannot target individual Transformations: Schedules are always attached to pipelines, not to specific transformation steps.
- Scheduled runs always use the latest Pipeline configuration: There is no version locking for scheduled executions.
If you modify your pipeline, those changes will apply to all future scheduled runs.
What Happens When a Schedule Triggers
When a schedule runs:
- The associated pipeline is identified
- The pipeline executes exactly as if you clicked Run manually
- All transformations run in sequence, using their current settings
Think of a scheduled run as clicking Run on your pipeline at the scheduled time.
How Transformations Execute During a Scheduled Run
- Transformations execute one after another, following pipeline connections
- Each transformation uses its current parameters
- Output from one transformation becomes input to the next
Example execution flow:
Data Input → Remove Duplicates → Sort Data → Export
What Happens When You Change a Transformation
Changes to transformations immediately affect future scheduled runs:
- Editing parameters: New settings are used
- Adding a transformation: New step is included
- Removing a transformation: Step is skipped
Changes affect all future scheduled runs. If you need to test safely, disable the schedule, test manually, then re-enable it.
Execution Results and Failures
Scheduled runs create execution records that you can review to understand what happened during each run.
Execution Records
- Each scheduled run creates an execution record: You can view these records in the schedule history or pipeline execution history.
- Execution records show the complete pipeline run: You can see when it started, when it completed, and the overall status (success or failure).
Failure Reporting
When a scheduled run encounters an error:
- Failures are reported at the transformation level: You can see which specific transformation failed and why.
- Execution stops at the point of failure: If a transformation fails, subsequent transformations in the pipeline will not execute.
- Failure notifications are sent: If you've enabled "Notify on Failure" for the schedule, you'll receive a notification when a run fails.
What You Can See When a Transformation Fails
When viewing a failed execution:
- Which transformation failed: The execution record shows the specific transformation node that encountered an error.
- Error details: You can see error messages, stack traces, or other diagnostic information to help identify the issue.
- Execution progress: You can see which transformations completed successfully before the failure occurred.
If a scheduled run fails, review the execution record to identify the problematic transformation. Fix the issue in your pipeline configuration, and the next scheduled run will use the corrected configuration.
Monitoring Execution Results
You can monitor scheduled execution results through:
- Schedule History: View all past executions for a specific schedule, including success and failure status.
- Pipeline Execution History: See all runs of a pipeline, including both manual and scheduled executions.
- Dashboard Overview: Get a high-level view of execution status across all your scheduled pipelines.
Regularly reviewing execution results helps ensure your scheduled pipelines are running correctly and allows you to quickly identify and resolve any issues.
Monitoring Schedules
You can monitor your schedules to track their execution status:
Schedule Status Information
Each schedule displays the following information:
- Next Run: The date and time when the pipeline will next execute.
- Last Run: The date and time when the pipeline last executed.
- Status: The current status of the schedule (e.g., Active, Disabled, Failed).
Viewing Schedule History
You can view the execution history for a schedule to see:
- Past execution times.
- Whether each execution succeeded or failed.
- Any errors that occurred during execution.
Regularly monitoring your schedules helps ensure they're running as expected and allows you to quickly identify and address any issues.
Timezones
Scheduling is designed to be simple and intuitive when it comes to timezones:
- Local Time Settings: When creating or editing a schedule, you set the time in your local timezone. You don't need to convert times manually.
- Automatic Conversion: The system automatically handles timezone conversion internally, so your pipelines run at the correct time regardless of your location.
Simply set your schedule time using your local timezone preferences. The system handles all timezone conversions automatically, ensuring your pipelines run at the intended times.
Common Use Cases
Here are some practical examples of how scheduling can be used:
Daily Refresh
Scenario: Keep your sales data updated every morning before your team arrives.
Solution: Set up a Daily schedule to run your sales data pipeline every day at 6:00 AM.
Weekly Reporting
Scenario: Generate a weekly summary report every Monday.
Solution: Create a Weekly schedule that runs your reporting pipeline every Monday at 8:00 AM.
Automated Recurring Workflows
Scenario: Automate a data cleansing workflow that needs to run multiple times per day.
Solution: Use an Hourly schedule to run your data cleansing pipeline every hour, ensuring data quality throughout the day.
Limitations and Known Constraints
Be aware of the following limitations when working with schedules:
Monthly Day Limit
Monthly schedules can only be set for days 1 through 28. Days 29, 30, and 31 are not supported.
Disabled Schedules
Schedules that are disabled will not run, even if their scheduled time arrives. Make sure to enable schedules that you want to execute automatically.
System Availability
Scheduled runs depend on system availability. While the system is designed for high availability, scheduled runs may be delayed if system maintenance is occurring.
Concurrent Executions
If a scheduled run is triggered while a previous execution is still in progress, the system may delay or skip the new execution to prevent overlapping runs.
Always verify that your schedules are enabled and functioning correctly. Monitor schedule execution history to ensure your pipelines are running as expected.
Troubleshooting
Here are answers to common questions about scheduling:
Why Didn't My Schedule Run?
If a scheduled run didn't execute, check the following:
- Is the schedule enabled?: Disabled schedules will not trigger executions.
- Is the schedule time correct?: Verify that the schedule time and timezone are configured correctly.
- Is the pipeline still valid?: Ensure the associated pipeline exists and is properly configured.
- Check execution history: Review the schedule history to see if there were any errors or failures.
- Test manual execution: If a schedule appears active but does not execute, check whether the pipeline itself can be executed manually without errors.
What's the Difference Between Disabled and Deleted Schedules?
- Disabled Schedule: The schedule configuration is preserved, but it won't trigger pipeline executions. You can re-enable it at any time.
- Deleted Schedule: The schedule is permanently removed. You'll need to recreate it from scratch if you want to use it again.
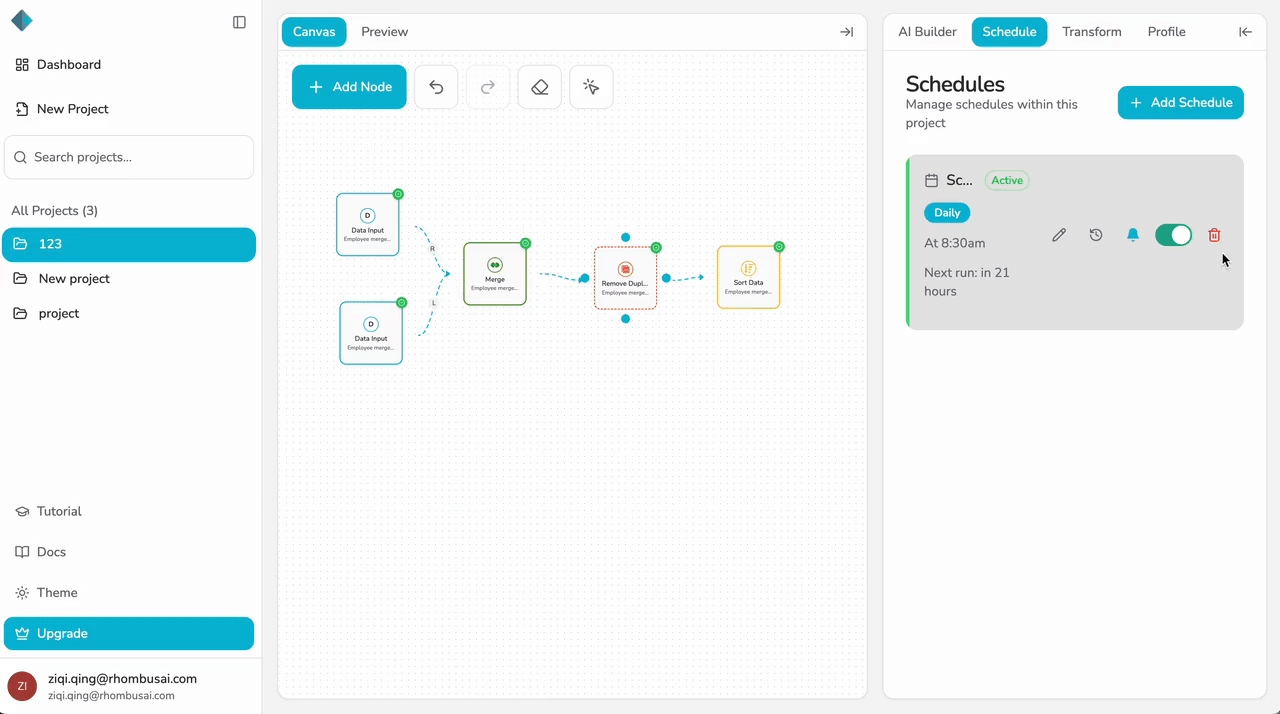
Can I Schedule Multiple Pipelines?
Yes, you can create separate schedules for different pipelines within the same project. Each schedule is independent and can have its own configuration.
If you have multiple pipelines that need to run on different schedules, create a separate schedule for each pipeline.
By understanding and effectively using scheduling, you can automate your data pipelines and ensure your workflows run consistently without manual intervention.