Usage Modes
Overview
When working with Rhombus AI Pipeline, you can choose between two usage modes based on your workflow:
- AI-Assisted Mode — Use the built-in AI agent to automatically create and configure pipelines via natural language instructions. (Recommended for most users.)
- Manual Mode — Build and configure pipelines step by step, giving you full control over transformations, data flow, and outputs.
If you are new to Rhombus AI, we recommend starting with AI-Assisted Mode.
For advanced use cases or debugging complex datasets, Manual Mode provides greater flexibility.
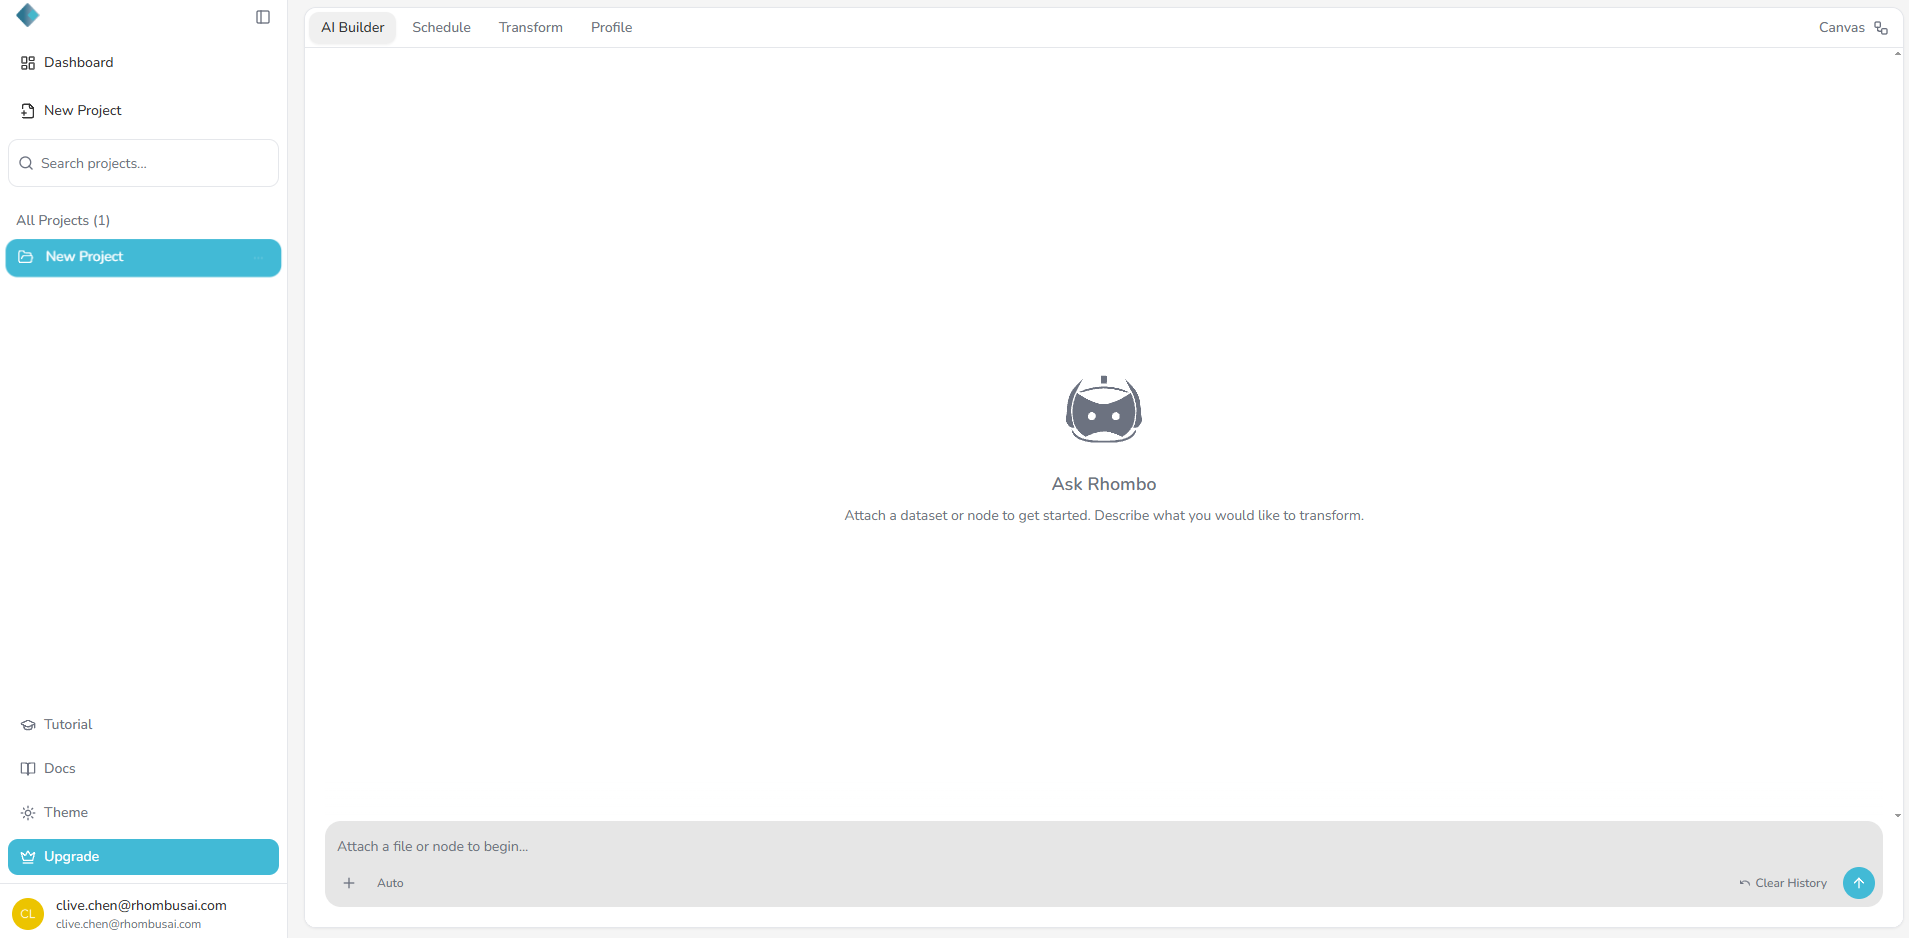
Mode 1 — AI-Assisted Mode (Recommended)
The AI-Assisted Mode helps you build pipelines faster using the built-in AI Chatbot.
Simply describe your request in plain language, and the AI agent will create, configure, and run your pipeline automatically — saving you time and reducing manual setup.
- For a complete walkthrough, check the Pipeline Quick Start Guide.
Mode 2 — Manual Mode (Advanced)
The Manual Mode lets you create and configure pipelines step by step, giving you complete control.
Step 1 — Create a Project
Before uploading your dataset, make sure you have a project to work in.
If you haven’t created one yet, follow Step 1 — Create Your First Project from the Quick Start Guide.
The Data Input node is the entry point of your pipeline. Without it, no data can flow into the system.
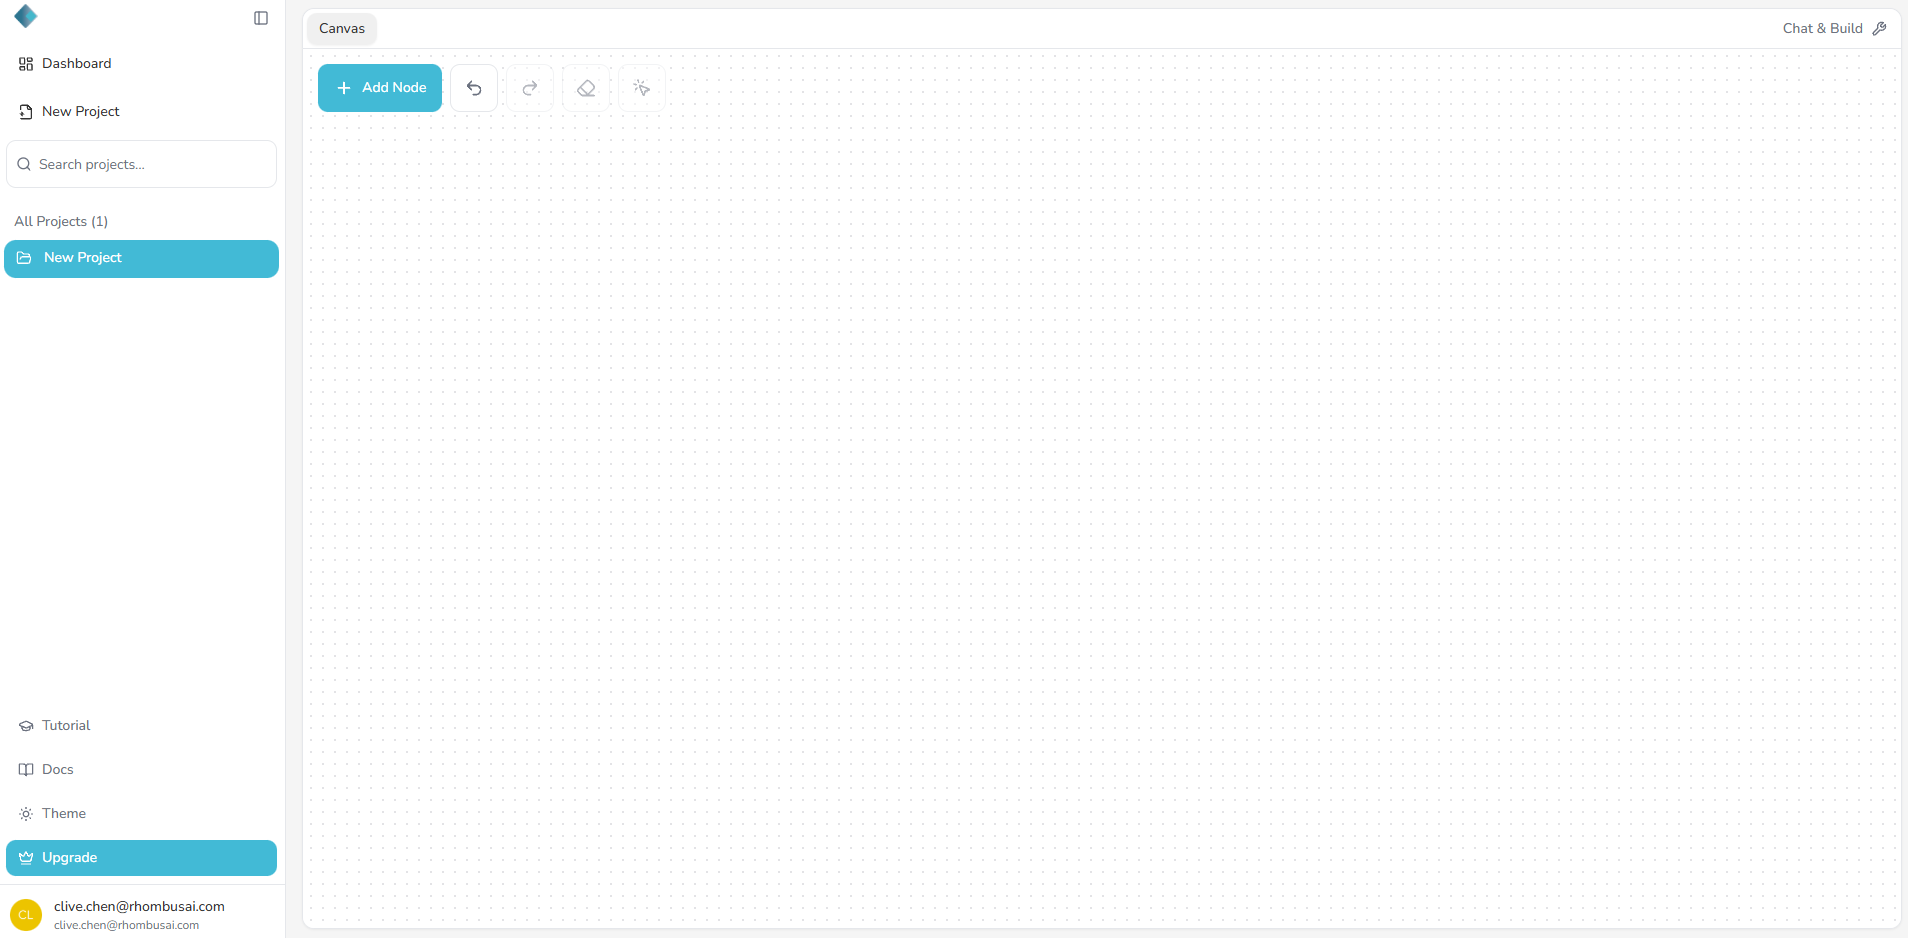
Step 2 — Add Your First Node
- Click the “+ Add Node” button on the canvas.
- A Node Palette will appear, showing all available node types.
- The first node must be a Data Input node, since every pipeline begins with data.
- Drag and drop the Data Input node onto the canvas.
- The Data Input node connects your dataset to the pipeline.
- Without it, downstream transformations won’t have any data to process.
Step 3 — Upload Your Dataset
- Select the Data Input node on the canvas.
- In the Upload Data panel, choose one of the following:
- From Device — Upload a dataset (CSV or XLSX) from your local computer.
- From Other Sources — Import from a supported cloud source (currently supports AWS S3).
- The uploaded dataset is stored in the project database and will be available for selection in the next step.
- Free plan users can upload files up to 20 MB per file, with a maximum total size of 100 MB.
Step 4 — Bind Your Dataset
- Open the Data Input node’s configuration panel on the right.
- In the Select Dataset menu, choose the dataset you want this pipeline to use.
- The selected dataset will be linked to the Data Input node and made available for downstream transformations.
Example:
If you uploaded Iris.csv, it will appear in the Select Dataset menu and can be selected for this pipeline.
- The Select Dataset menu lists all datasets stored in the project database.
- You can upload multiple datasets within a project, but each Data Input node can only be bound to one dataset.

Step 5 — Add a Transformation Node
After configuring the Data Input node, you can add your first transformation node:
- Click “+ Add Node” and select a transformation, such as Sort Data, Remove Duplicates, Text Cleanup, or Normalize Data.
- Drag the selected node onto the canvas and place it to the right of the Data Input node.
- Connect the output port of the Data Input node to the input port of the transformation node.
- Configure the parameters of the transformation node in its configuration panel.
- Each transformation node has its own configurable parameters.
- For detailed parameter descriptions, see the Transformer References.
Step 6 — Build a Complete Pipeline
To create a complete pipeline, repeat Step 5 to add and connect multiple transformation nodes:
- Click “+ Add Node” to add additional transformations.
- Drag nodes onto the canvas and arrange them in the correct sequence.
- Connect the output of each node to the input of the next to define the data flow.
- Configure the parameters for each transformation node to ensure correct processing.
- Continue until your pipeline includes all required transformations.
- Pipelines can include one or many transformation nodes chained together to build complex workflows.
Step 7 — Run & Preview Your Pipeline
After building and configuring your pipeline, run it manually and preview the results:
- Click the last node on the canvas.
- In the configuration panel, click Apply to run the pipeline.
- Once the run is complete, open the Preview tab of the last node to review the processed dataset.
- Always review the output in the Preview tab before downloading.
Step 8 — Download Your Dataset
Once you’ve verified the results, download the processed dataset:
- In the Preview tab of the last node, click Download Dataset.
- Choose your preferred format:
- CSV
- Excel (XLSX)
- The downloaded file contains the final processed dataset.
- If the results are unexpected, adjust your transformations, re-run the pipeline, and preview again before downloading.