Building a Pipeline
Overview
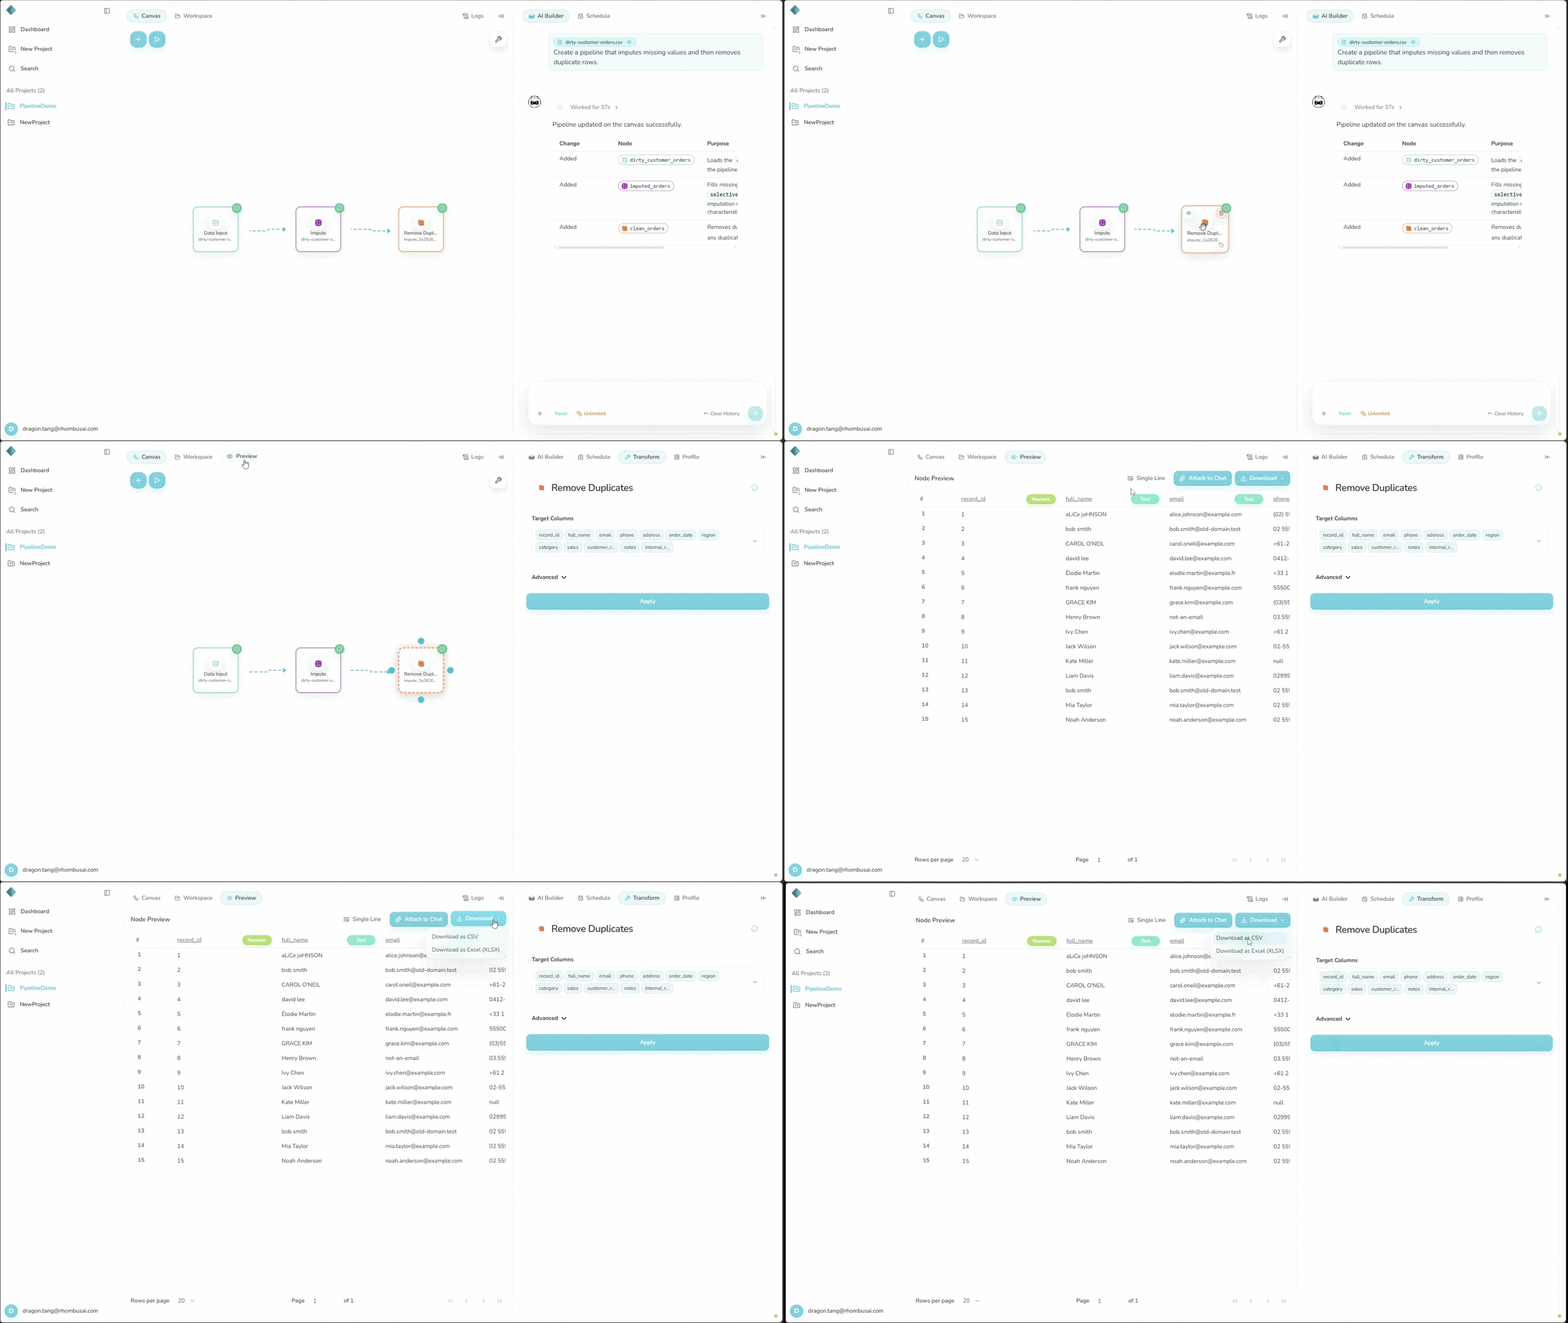
Rhombus AI offers two ways to build a pipeline:
- AI-Assisted Pipeline Mode — Select
/pipelineand describe the work in natural language. The AI agent creates or configures the pipeline. - Manual Mode — Add, connect, and configure each node yourself.
Choose Manual Mode for direct control over transformations, data flow, and outputs, or when you need to debug a dataset.
Mode 1 — AI-Assisted Pipeline Mode
In the Chatbot, type /, select Pipeline, and describe the result you
want. The agent creates or configures canvas nodes from your request. When it
finishes, review the proposed nodes, connections, and settings.
For a complete walkthrough, see the Pipeline Quick Start Guide.
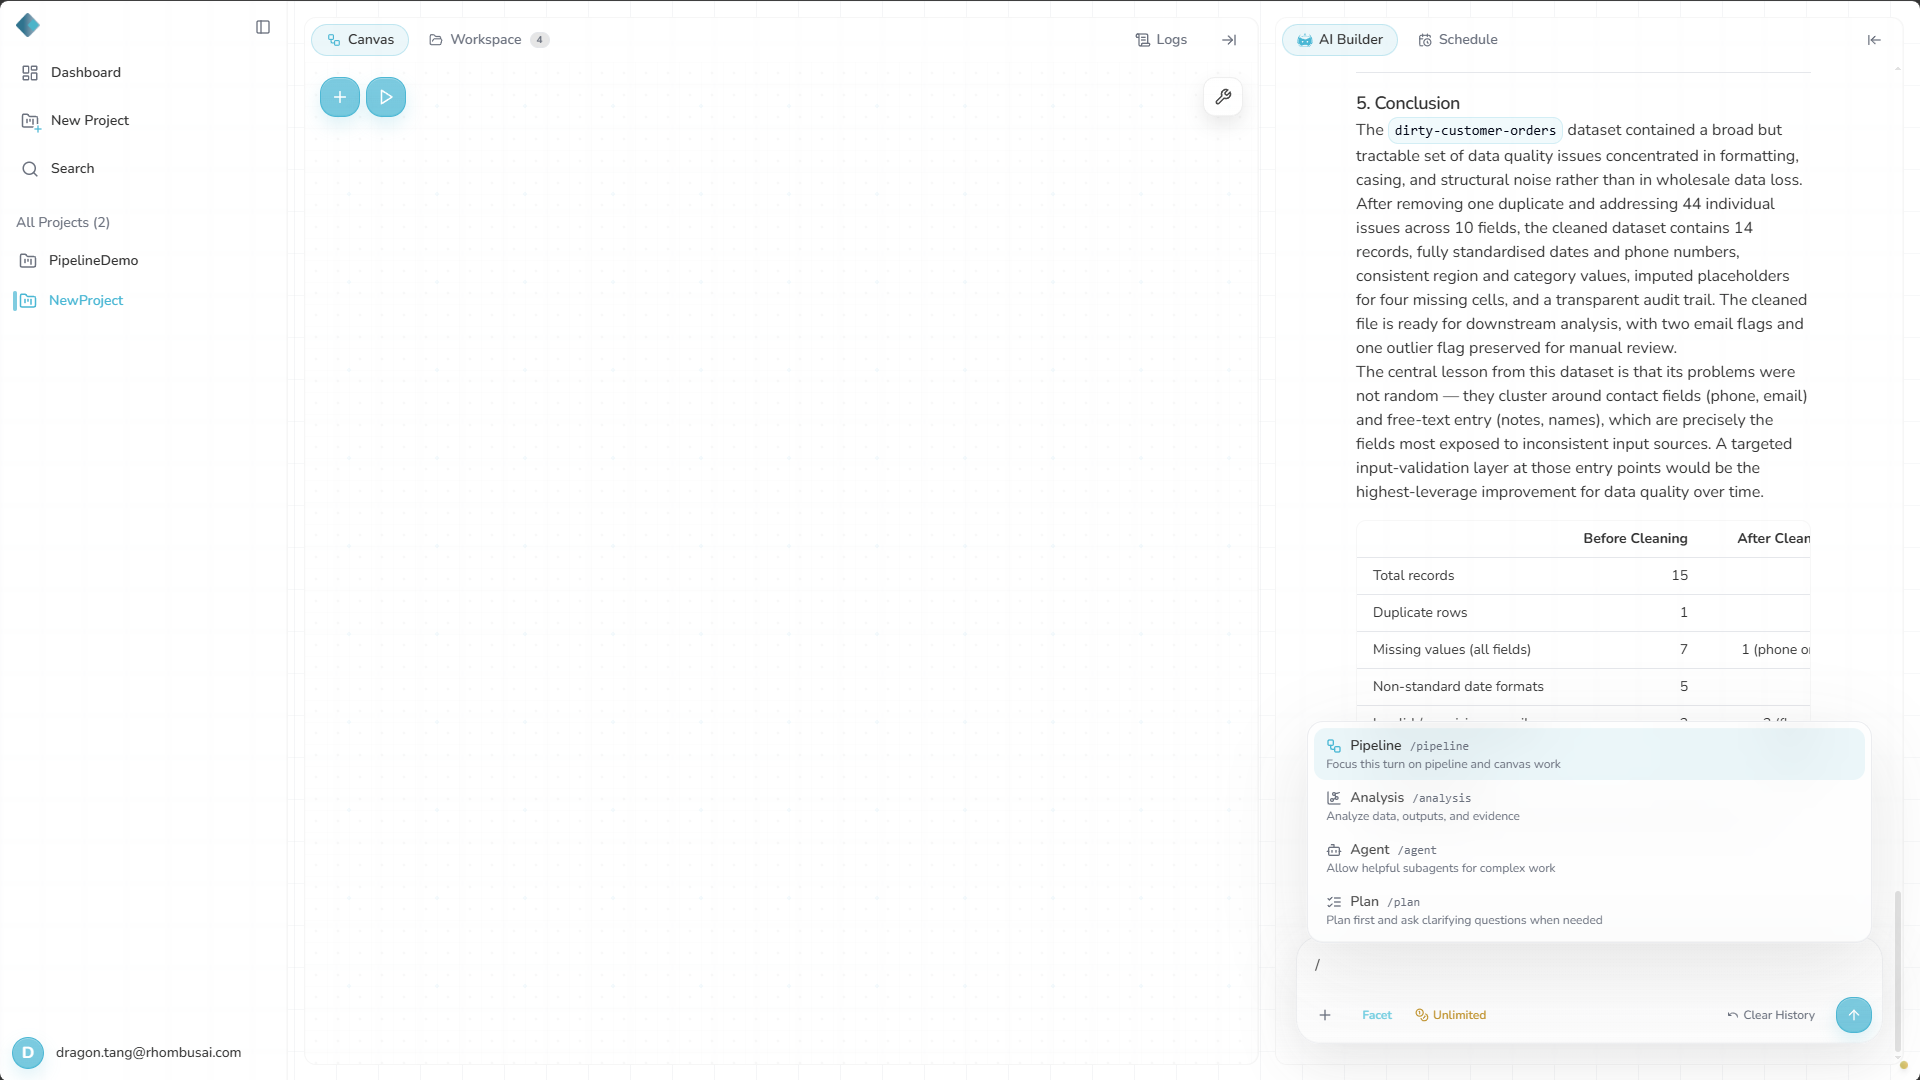
Mode 2 — Manual Mode (Advanced)
Manual Mode gives you direct control of every node on the canvas.
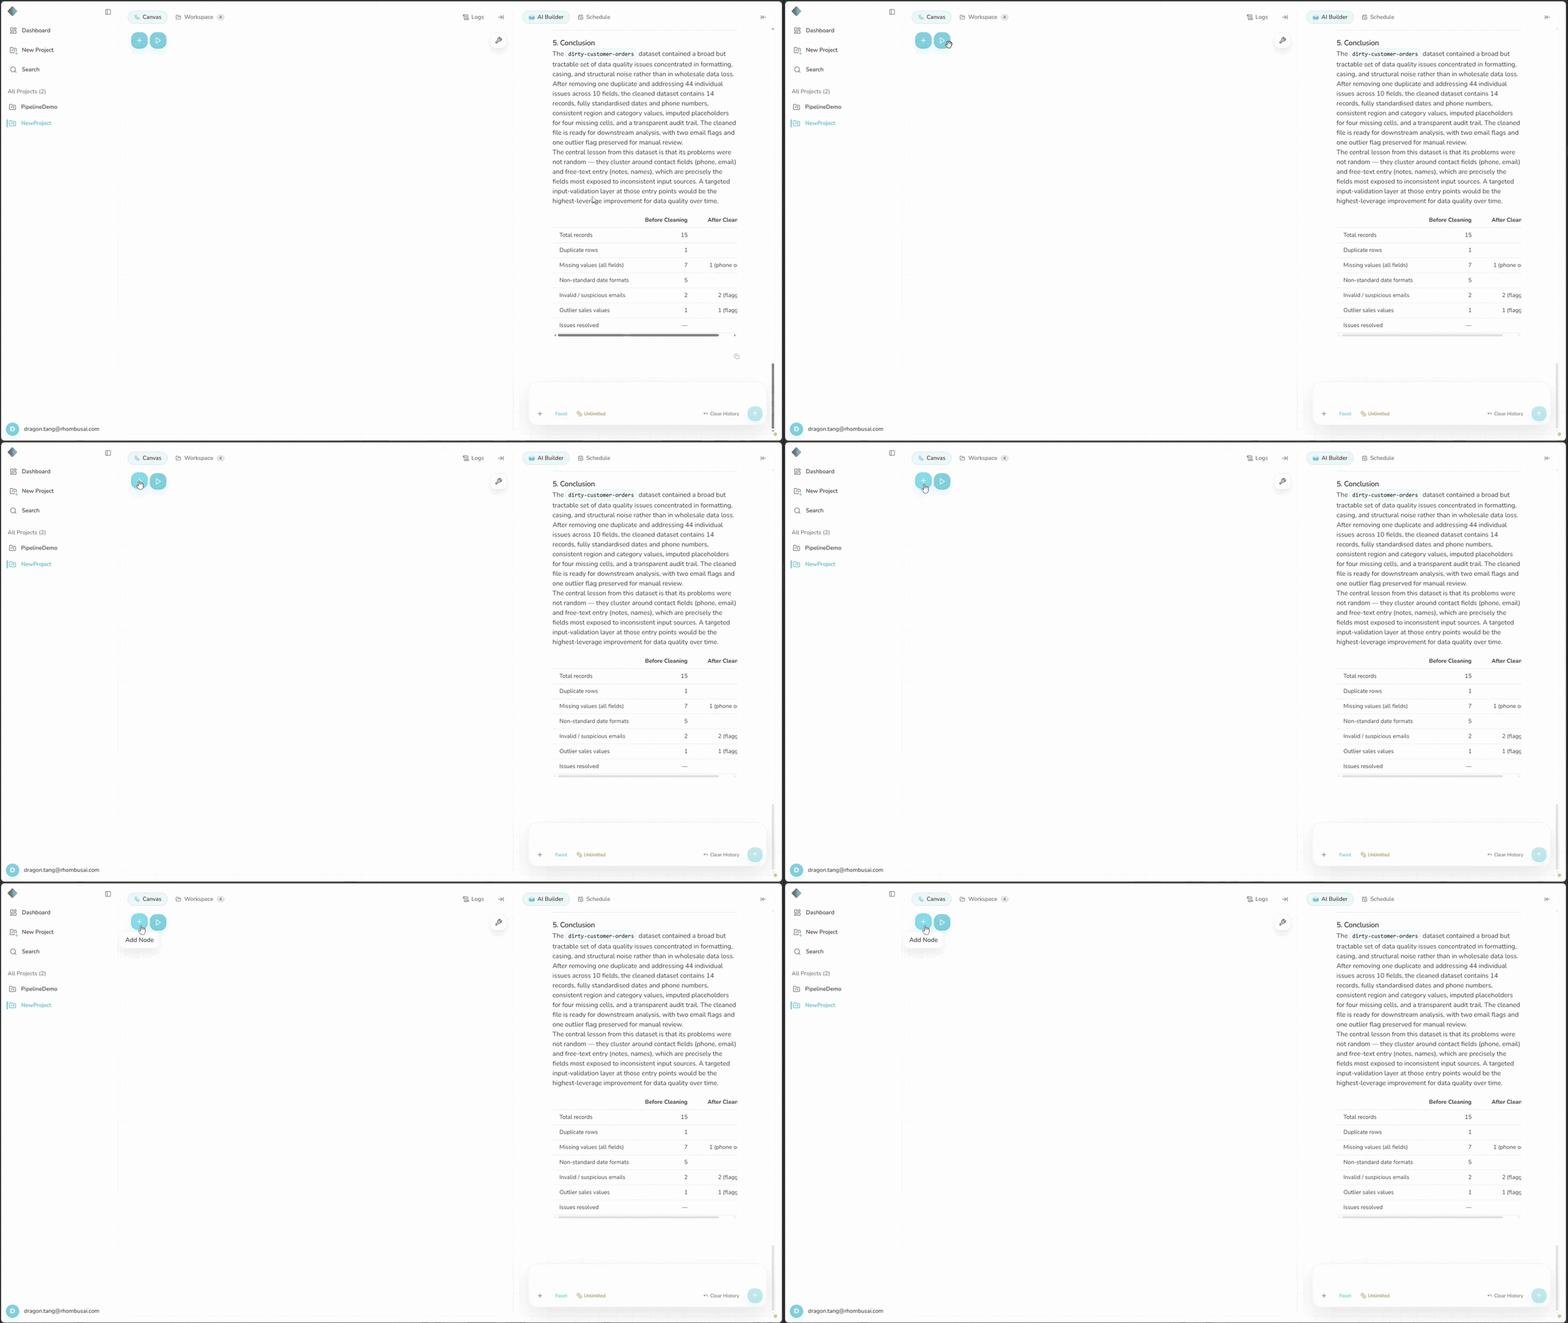
Step 1 — Create a Project
If you need a project, follow Step 1 — Create Your First Project in the Quick Start Guide.
A runnable data pipeline needs a Data Input node, though it does not have to be the first node you add to the canvas.
Step 2 — Add Your First Node
- Click the “+ Add Node” button on the canvas.
- Choose a node from the Node Palette.
- Hover over the new node and click Add tag, the pencil icon in the bottom-right corner.
- Enter a short Node tag that describes the dataset produced by the node, then click Save.
- Rhombus highlights Data Input as the recommended starting node, but you can add other node types to an empty canvas first.
- Before you run the pipeline, add a Data Input node and connect it upstream of every transformation that needs the dataset.
- Data Input connects a dataset to the pipeline. Without it, downstream transformations have no data to process.
- A descriptive node tag helps Rhombo understand what the node represents and what dataset it produces.
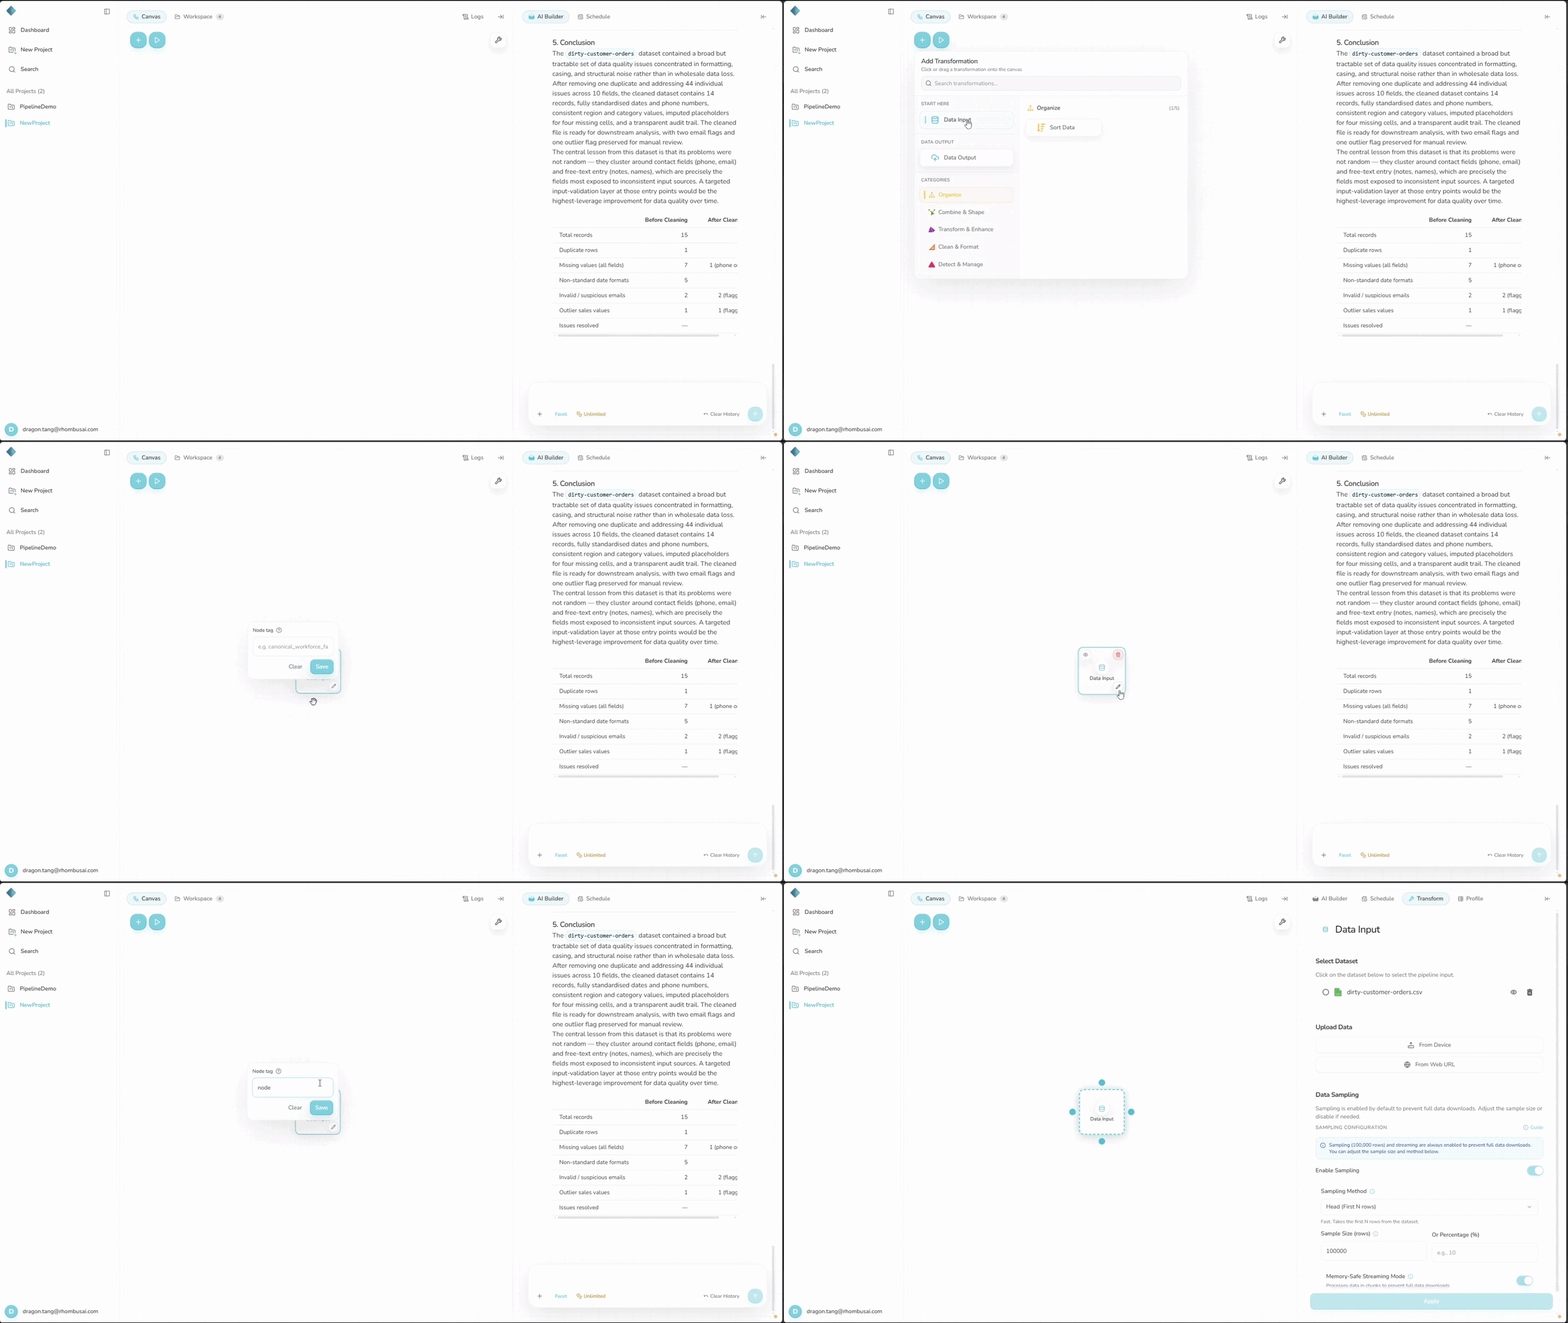
Step 3 — Upload Your Dataset
- Select the Data Input node on the canvas.
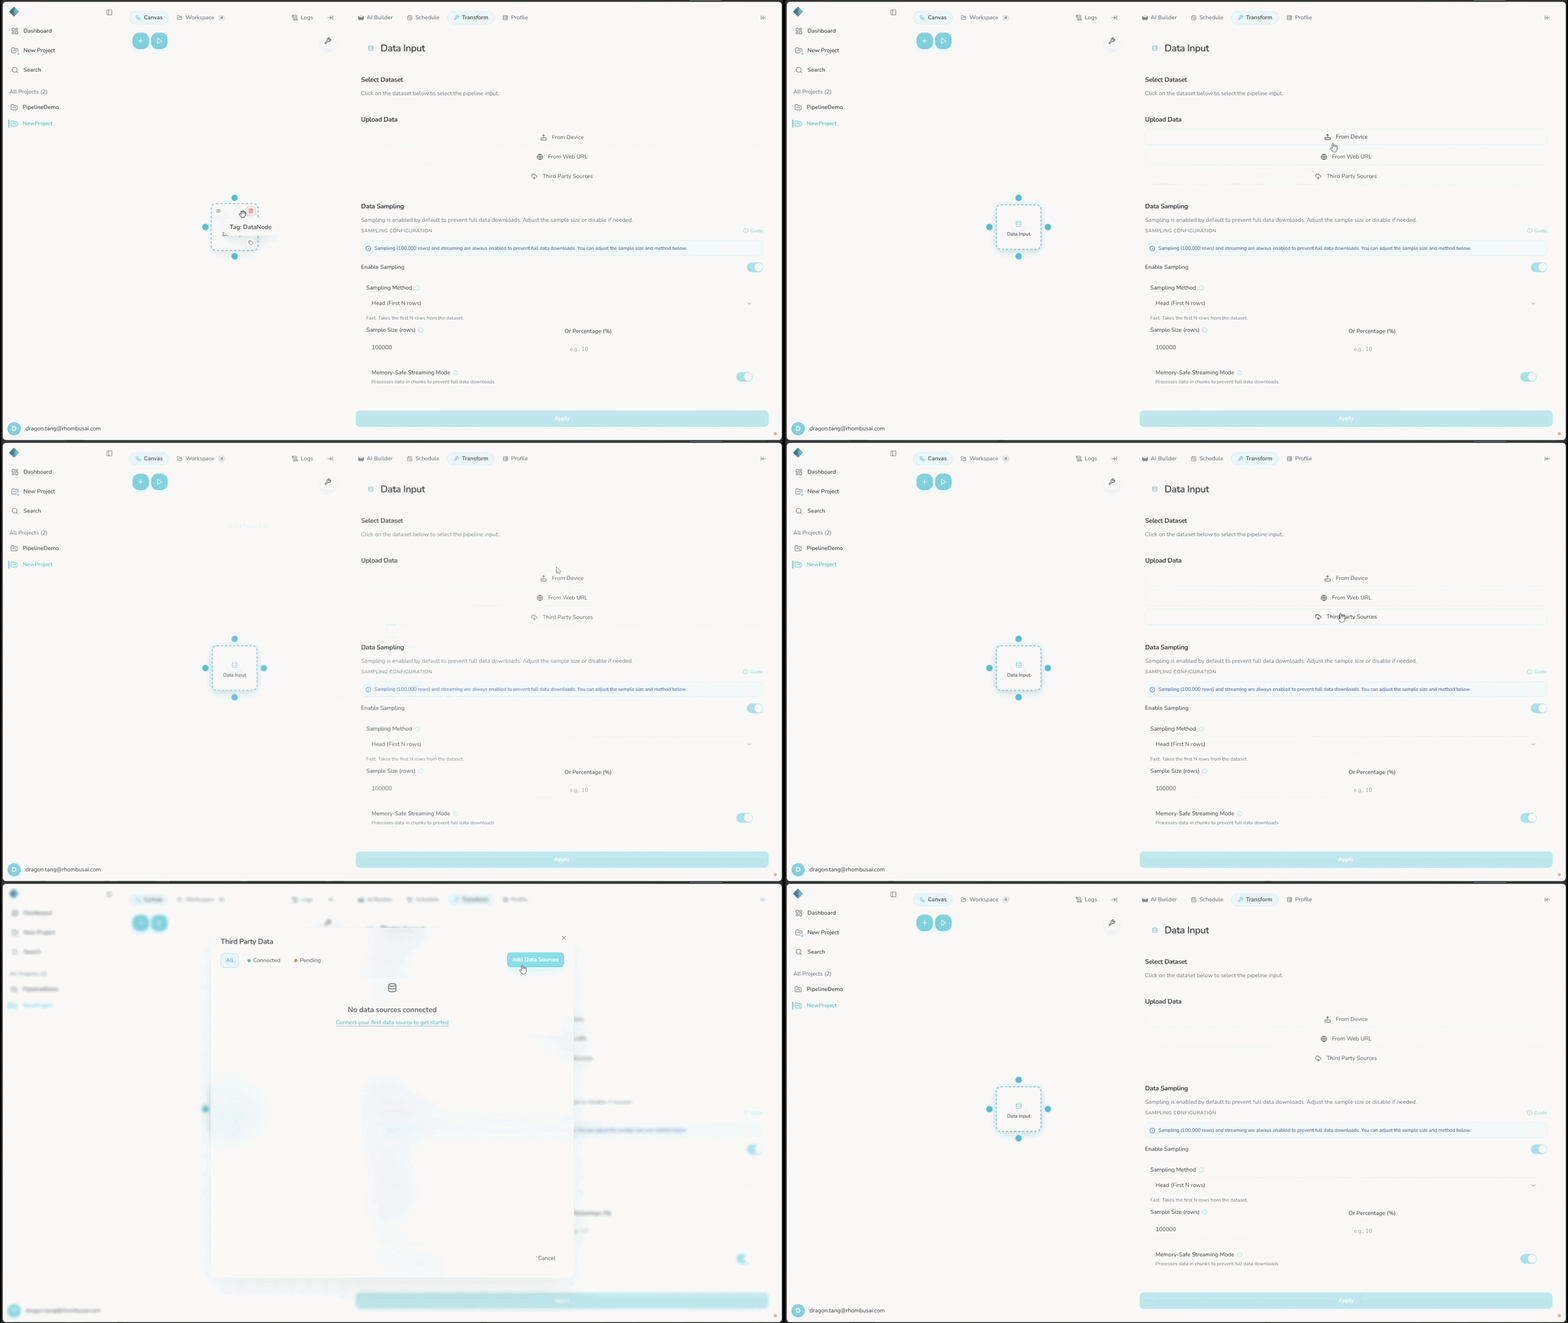
- In the Upload Data panel, choose one of the following:
- From Device — Upload a CSV, XLS, or XLSX file from your local computer.
- From PDF / Image — Extract tables from a PDF, JPG/JPEG, PNG, or TIFF/TIF file and import each selected table as a CSV dataset.
- From Web URL — Extract tables from a web page and import each selected table as a CSV dataset.
- Third Party Sources — Connect to Amazon S3 (AWS), Azure Blob Storage, Google Cloud Storage, or Snowflake.
- Rhombus saves the uploaded content in its configured object storage. The project database keeps the dataset record, metadata, and object URL so you can use the dataset in the next step.
The Third Party Sources option is available only when the
fivetran-3rd-party-data-integration feature is enabled for your account or
deployment. The project must also have an unused data-connector slot under its
subscription plan. Connector allowances vary by plan. If every slot is in use,
you cannot create another connection until a slot becomes available or the plan
allowance changes.
- Free plan users can upload files up to 20 MB per file. Upload limits can differ by plan and upload surface.
Step 4 — Bind Your Dataset
- Open the Data Input node's configuration panel on the right.
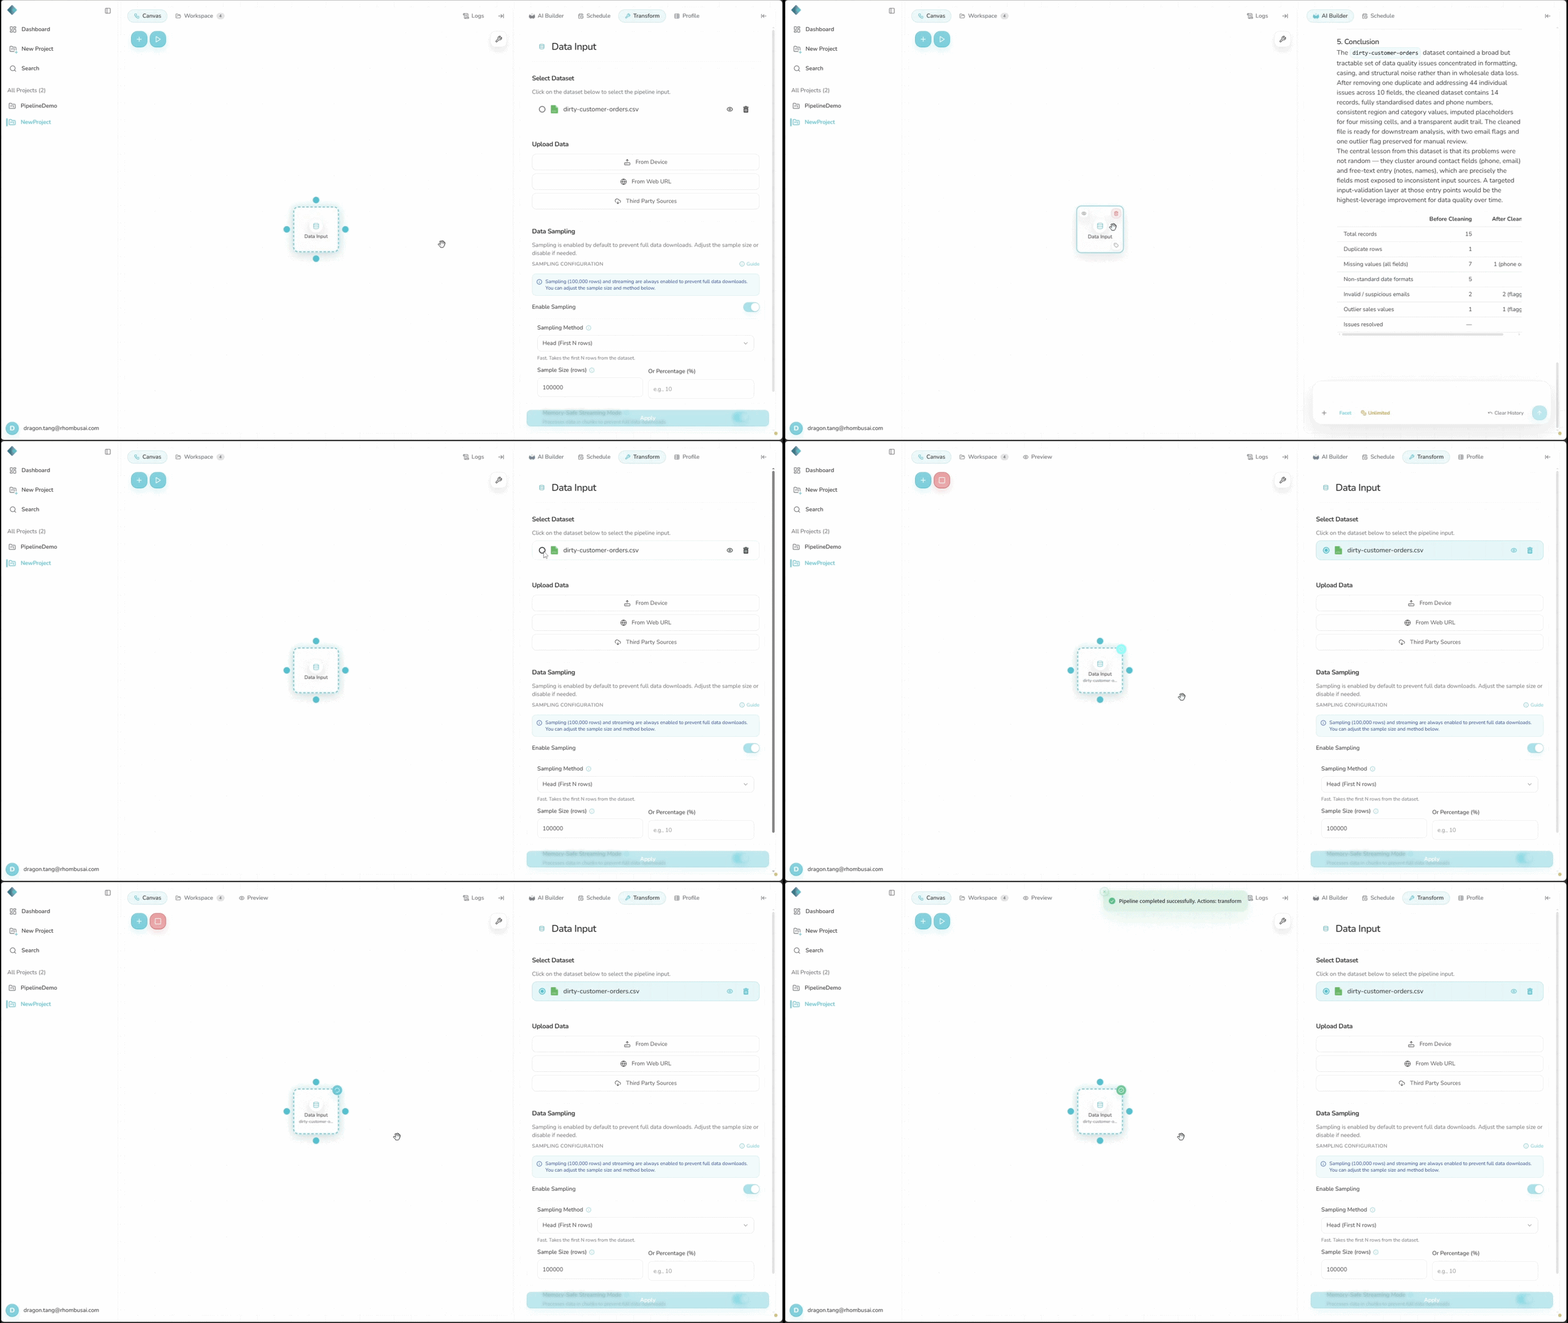
- Choose a dataset from Select Dataset.
- The node sends that dataset to connected downstream transformations.
Example:
If you uploaded Iris.csv, it appears in Select Dataset.
- The Select Dataset menu lists the datasets registered to the project.
- You can upload multiple datasets within a project, but each Data Input node can only be bound to one dataset.
Data Input nodes always use sampling and memory-safe streaming. By default, the Head method takes the first 100,000 rows. You can change the row count or percentage, or select Head, Systematic, or Reservoir sampling.
Step 5 — Add a Transformation Node
- Click “+ Add Node” and select a transformation, such as Sort Data, Remove Duplicates, Text Cleanup, or Normalize Data.
- Place it on the canvas to the right of Data Input.
- Rhombus may connect the nodes automatically. If not, drag the blue output connector dot on the Data Input node to the blue input connector dot on the transformation node.
- Set the transformer's parameters in its configuration panel.
See the Transformer References for details about each transformation's parameters.
Step 6 — Build a Complete Pipeline
Repeat Step 5 for every transformation in the pipeline:
- Click “+ Add Node” and choose another transformation.
- Arrange the nodes in processing order.
- Connect each node's output to the next node's input.
- Configure the new node.
A pipeline can contain one transformation or a chain of many transformations.
Step 7 — Run & Preview Your Pipeline
- In the canvas toolbar, click the play icon beside the + Add Node icon. Its hover label is Run Pipeline.
- Wait for the run to finish.
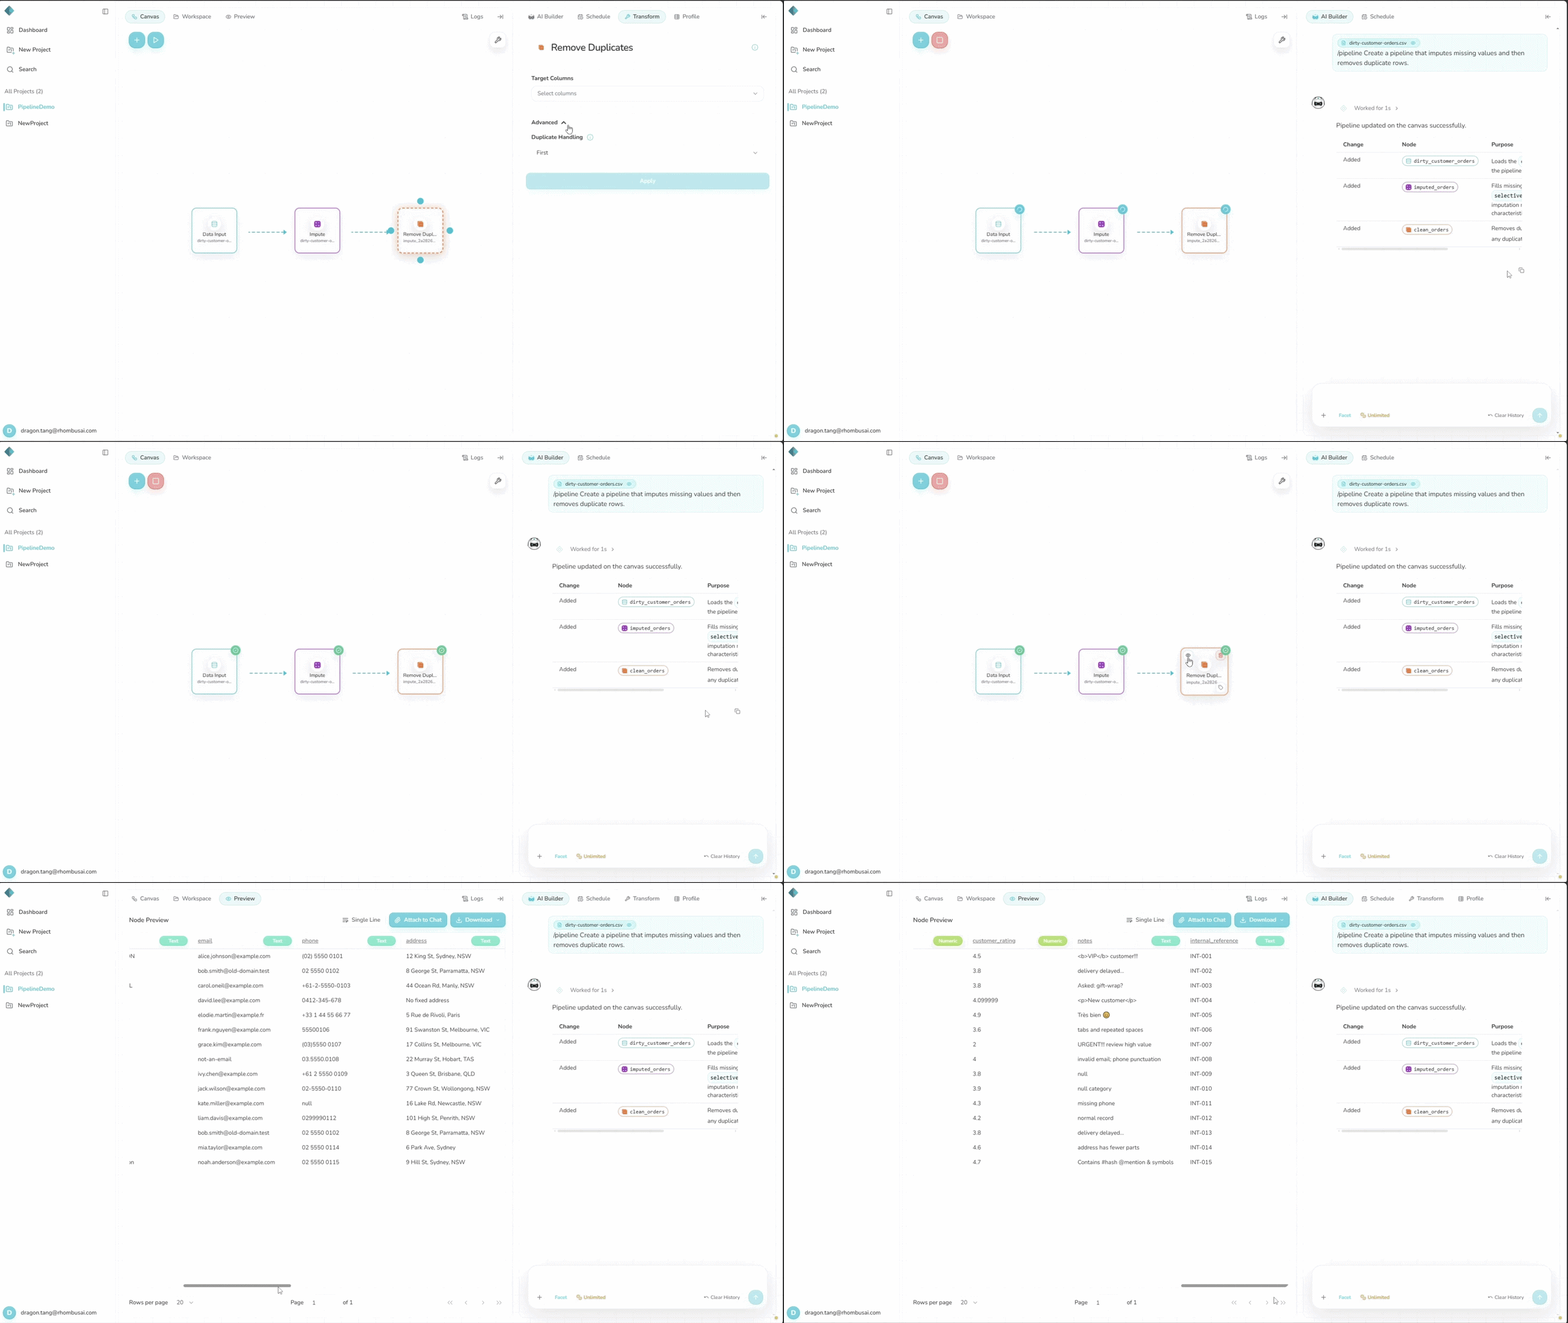
- Select the node whose output you want to inspect. A Preview option appears beside Workspace.
- Click Preview and check the processed output before you download it.
After changing any node, run the pipeline again before checking the new preview.
Step 8 — Download Your Dataset
- Select the final output node.
- Click Preview beside Workspace.
- Open the Download menu.
- Select Download as CSV or Download as Excel (XLSX).
The download contains the final processed dataset. If the result is not what you expected, update the transformations, run the pipeline again, and check the new preview.